Attachments
At times you may need to attach supporting documentation to a return. This may include state-required documents, such as a State Business Page needed for e-filing, or internal documents you want to store with the return for reference by your team.
Accessing Attachments
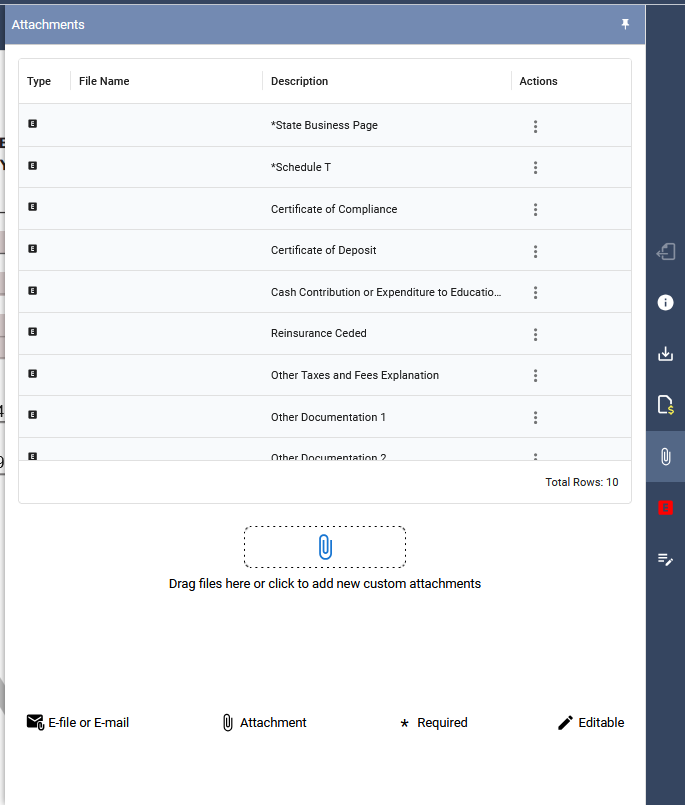
The Attachments icon, located in the vertical icon bar, opens the Attachments pane where external files can be added to the return. The icon appears as a paper clip. Selecting this icon will open the Attachments window.
The top portion of the window lists all possible state-specified attachments. Required attachments are marked with an asterisk (*), and some attachments may be conditionally required based on the data entered in the return.
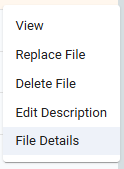
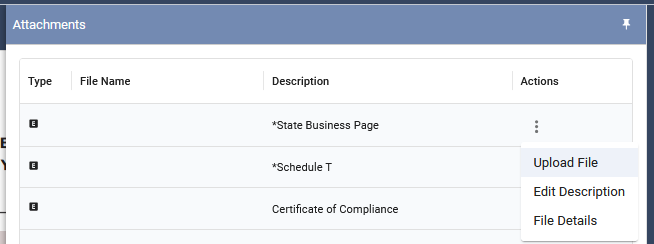
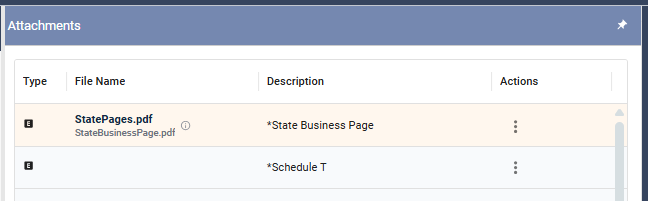
To attach a required file, click the three dots menu next to the attachment name and select Upload File. The attachment window will appear, allowing you to select your file. Once uploaded, the file name will appear in the File Name column.
Adding Additional Attachments
To attach a file that is not listed, click the paper clip icon in the center of the window or drag and drop the file into the area provided. These files will appear at the bottom of the list and can be removed using the trash icon.

Editing Attachment Details
For all attachments, additional details can be modified by clicking the three dots menu next to the file and selecting Edit Description. From this option, you can add a description and adjust the print and rollover settings for the attachment.